Swifty AI Chatbot Overview
How to Set Up, Customize, and Maximize Your AI Chatbot in Helpjuice

Written by Amanda Stançani
Updated on September 25th, 2025, by Amanda Stançani
Table of Contents
The Swifty AI Chatbot is a powerful tool designed to help your users find answers instantly by leveraging the content in your Knowledge Base. It improves customer experience, reduces support workload, and keeps your brand consistent across platforms.
In this article, you’ll learn:
- What Swifty AI Chatbot is and its key benefits
- How to customize chatbot appearance and behavior
- Advanced settings for language, transparency, and accessibility
- How to install the chatbot on your Knowledge Base or external website
- Best practices for security, branding, and optimization
What is Swifty AI Chatbot?
Swifty AI Chatbot uses GPT-powered intelligence to provide instant answers directly from your Knowledge Base. It can be embedded both within Helpjuice and on external websites, ensuring users always have quick, accurate access to information.

Key Features
- Intelligent Interaction: Seamlessly guides users to answers.
- Source Verification: Displays links to original KB articles.
- Simple Customization: Adjust name, icon, messages, and style to fit your brand.
Main Benefits
- 24/7 Availability: Always ready to support your users.
- Faster Response Times: AI-powered answers delivered instantly.
- Reduced Support Workload: Handles repetitive queries, freeing staff for complex tasks.
- Consistent Brand Experience: Customizable look and tone.
Video Overview
Customizing Your AI Chatbot
Chatbot Basics
Name: You can personalize the chatbot by entering any name you prefer in the Chatbot Name field. This helps users feel more connected to the chatbot.

Icon: You can upload a custom icon to replace the default chatbot icon. This allows you to better align the chatbot’s appearance with your brand identity.

Welcome Header: Set a custom prompt for your users by filling out the Welcome Header field. This title or prompt is the first thing users will see when they open the chat, such as "Ask us anything!"

No Results Message: When the AI doesn’t have an answer to a user’s question, it will respond with a default "No Response" message. This message can be customized to provide a more tailored and helpful experience for your users.

Custom Instructions: Specify guidelines for the AI to follow when crafting its replies. This optional feature allows you to influence the style, tone, or behavior of the chatbot to ensure it aligns with your goals.

Custom instructions don’t affect what search results are retrieved. They only shape how the AI presents the answer after search results are processed.
Visual Branding
Theme & Link Colors: Customize your chatbot’s look to match your brand identity. You can set the theme color (overall visual style) and link color (for clickable text) using default options or custom color codes in HEXA, RGBA, or HSLA formats. Both support adjustable opacity, giving you full control over consistency and visibility.

Widget Position: Decide where the chatbot widget will appear on your website. You can place it either at the bottom left or bottom right corner of the page, ensuring it doesn’t interfere with your site’s design and user experience.

All changes currently available will be displayed in the Swifty Settings section. The widget doesn't support extra regular frontend customizations at the moment.
If improvements are needed, feel free to submit a Feature Request on our Community Forum.
Advanced Settings
Multi-Language Support: Enable multi-language support to cater to a global audience. The chatbot supports over 50 languages, making it easy for users from different regions to interact with it in their preferred language.

Show Sources in Responses: Enhance transparency by enabling the chatbot to show the sources of the information it provides. This feature links back to the original content in your Knowledge Base, building trust with your users.

Accessibility Settings
The AI Chatbot respects user permissions to ensure appropriate access to information. If a user is not signed in, they will receive responses based on public articles. However, if the user has access to private articles, the chatbot will use this data to provide responses as well.
Please keep in mind that if your Knowledge Base is embedded, only public articles will be used.
Data Privacy & Security
At Helpjuice, your data privacy and security are of utmost importance to us. We ensure that your data is handled with care and remains secure throughout your interactions with our platform. Here’s how we protect your information:
- We do not train our AI on your data.
- Your data is not stored within the AI.
- All data storage remains consistent with previous practices, securely housed in Helpjuice's database.
Only the necessary information is passed to our self-hosted AI engine for faster processing.
Installing the AI Chatbot
For Your Knowledge Base
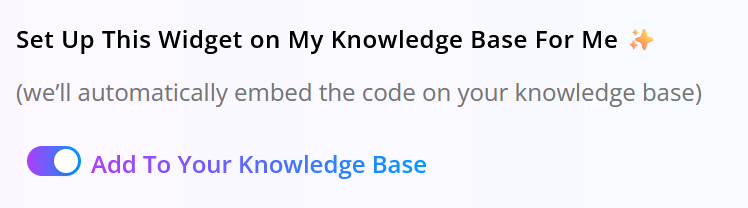
- Enable the "Add To Your Knowledge Base" option in the settings.
- The chatbot will automatically be added to your Knowledge Base, ready for users to interact with.
If you want to add Swifty to more language sections, switch to each language and enable the widget.
For External Websites
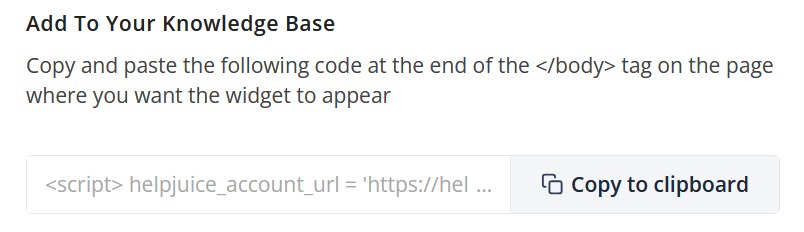
- Navigate to the Swifty Settings section.
- Copy the provided code snippet.
- Paste the code at the end of the
<body>tag on the page where you want the chatbot to appear.
If you change the settings after you embed the code, you need to re-embed it (remove the old one, and add the updated one).
Best Practices
- Keep Branding Consistent: Match theme colors and chatbot tone to your company voice.
- Test Different Prompts: Adjust welcome and no-result messages for clarity.
- Enable Sources: Improves trust and transparency with your users.
- Re-Embed After Changes: Always update your code when adjusting settings.