How to Set and Manage Languages in Your Knowledge Base
Learn how Helpjuice handles multiple languages, content localization, and translations

Written by Amanda Stançani
Updated on May 20th, 2026, by Emil Hajric
Table of Contents
This article explains how Helpjuice supports multilingual knowledge bases and content localization. You’ll learn:
- What the default language is and how it affects your knowledge base
- How to add and manage multiple languages
- How to create and link translations
- How to use automatic and manual translations
- How to provide a seamless experience for users across languages
Key Concepts
- Default Language: The main language of your knowledge base. All new articles are created in this language. Other languages can be added and synced from this base language.
- Additional Languages: Languages added to your knowledge base to make content accessible to more users.
- Translations: Copies of articles in other languages. Translations can be created manually or via auto-translation.
- Syncing Content: The process of copying updates from the default language to other languages to maintain consistency.
Setting the Default Language
- Access Settings: click your profile picture and select Settings.
- Navigate to Languages & Translations: go to Settings > Languages & Translations.
- Choose Your Default Language: under the Default Language section, select your desired language from the list.
- Save Changes

The default language is the base for all new articles.
Changing the default language does not automatically translate existing content.
Managing Multiple Languages
Adding New Languages
- Go to Settings > Languages & Translations.
- Click Add New Language.
- Select the language you want to add.
- Assign translators (optional).
- Copy content from the default language (optional).
- Enable auto-translate (optional).
- Click Save.
Disabling Multiple Languages
- Go to Settings > Languages & Translations.
- Select “No, disable multiple languages”.
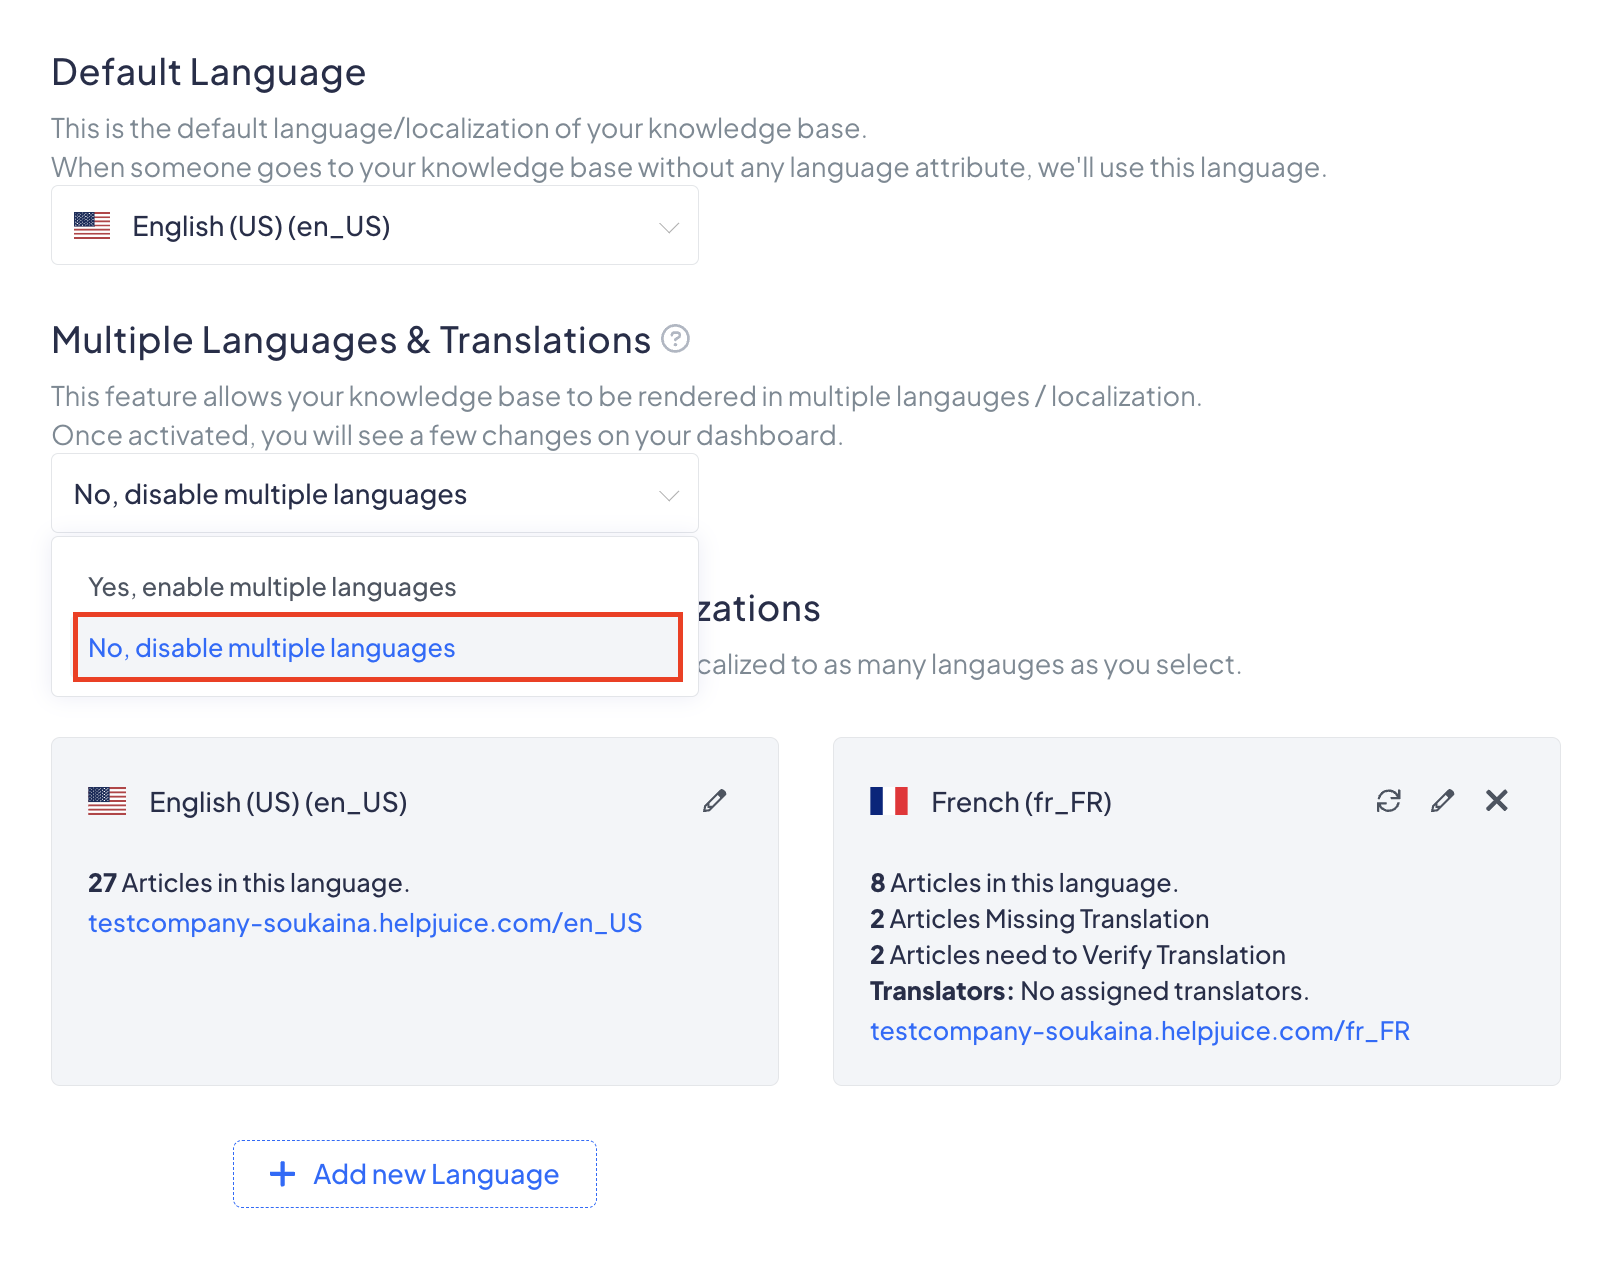
The default language cannot be disabled.
Syncing Content from the Default Language
Translating New Content Only
If there's new content in the default language that you don't have in the language you want to sync, that content will be copied to your language and all your current data will remain intact.
Simply click on the Sync icon  and choose if the synced articles should be automatically translated or just copied into the new language.
Updating Already Translated Articles
To include existing translations in a sync, select both checkboxes shown below:

Before triggering a sync, make sure:
- The original article has been edited
- Those changes have been published - unpublished edits are not picked up
Triggering the sync
Publishing alone does not start a sync. You'll need to manually trigger it from the Settings page. This is by design - automatic syncing could result in unexpected charges (for example, if you publish multiple times to fix small typos).
What gets retranslated
When a sync runs, the entire article is retranslated - not just the sections that changed. This applies the same way whether you trigger a sync or add a translation directly in the editor. Keep this in mind, as charges may apply to the full article even for minor updates.
One exception: If a translation has already been updated and published after the latest version of the original article, that translation will be skipped during the sync as we assume the translation is already more up to date.
For more information on translation fees, please check Helpjuice Article Translation Fees.
Deleting Languages
- Go to Settings > Languages & Translations.
- Select the language to remove.
- Click Delete and confirm.
This action will delete the entire language, not just translated articles. The templates for that language will also be deleted and all customizations related to the deleted language will be lost.
The English (en_US) language cannot be deleted from your account even though it has no content. However, you can submit a Customization Request and we will remove the language from the Language Switcher in the Frontend and create a redirect from en_US to your desired language!
Protected Terms
The Protected Terms feature is a list of terms that should not be translated. In this section add terms that you want to stay intact during the translation process. Type the term in the input field, hit Enter, and remember to save the changes!
Troubleshooting
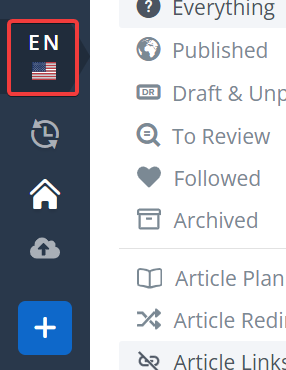
Missing Content: If you go to your Dashboard and all your content seems to be missing, you might be viewing the wrong language. You can easily switch between languages by clicking the language icon (the first icon) in the left-hand menu to access your desired language
Best Practices
- Review auto-translations for accuracy.
- Keep consistent formatting and naming conventions across languages.
- Limit active languages to those your audience needs.